Quick Weekend Project: Lemonade Tree

Lemonade, that cool refreshing drink.
Homemade lemonade. A great time to show the difference between trying to dissolve sugar in warm water vs. cold water.

This weekend, I wore the kids out hiking around town, biking, and playing ball at the local playground. The sun was out and the air was warm, so when we got home for lunch and our eight year old wanted to make lemonade with the last lemon in the fridge, I said “sure!”

During snack earlier, we had saved several pear and cherry seeds, so we added the lemon seeds to the pile. Our five year old joked that if we soaked the seeds in all the juices from our various fruits, they would grow into a tree with bearing all the fruit. Then we could have lemonade all the time! Hmmm, sounds like a hypothesis.

On their own, they girls decided to plant the seeds and try it out. I got out some potting soil and they found some pots. Then they each picked a few seeds and planted and watered them.

It didn’t take long to plant the seeds and it didn’t cost much, but it only takes a few minutes each day to train them to think like scientists. The moral of the story is: never miss an opportunity.

Two pots with soil and freshly planted seeds.
One day, a lemonade tree will grow, unless the local birds get the seeds first.

Whoa, Whoa, Whoa…Volcano!

vinegar, baking soda, and a bottle.
Hard to mess with the classics, but here are some extra tips to try.

A popular experiment with kids is to put baking soda in a bottle and then add vinegar. The mixture foams up and bubbles out of the container like lava coming out of a volcano. We’re no stranger to the volcano experiment, so here are some deeper details you can share with your kids as well as a few twists to try.

NOTE you’ll need to take the proper precautions so that no one gets the mixture in their eyes, mouths, etc.

Vinegar is a liquid that contains acetic acid and water. Depending on the variety, you can find other things in there to give it flavor, like apple cider or balsamic vinegar. The amount of acetic acid varies, but is generally pretty low, so vinegar is fairly weak as acids go. That’s why you can safely use it in cooking. It’s on par with lemon juice (remember that for later).

Vinegar is formed when alcohol is fed to a particular variety of bacteria that converts the alcohol to acetic acid. That’s biochemistry! In fact, it’s the same basic process that’s used in brewing, yogurt making, baking with yeast, and many biotech companies. They all fall under the name “fermentation”. In each case, you have single celled organisms that take a particular food source (alcohol) and convert it to something you want (acetic acid). We’ve done several fermentation projects with our kids, so keep an eye out for those articles coming soon.

The volcano happens when the acetic acid in the vinegar reacts with the baking soda, a.k.a. sodium bicarbonate, a mild alkali salt (it is a mild base, which is the opposite of an acid). This reaction is an easy to demonstrate example of chemistry. When the two chemicals mix, their atoms recombine, creating carbon dioxide, among other things. Carbon dioxide appears as a gas, i.e. the bubbles. They are trapped in the mixture by surface tension, and as more and more carbon dioxide is produced, the bubbles grow and the mixture gets bigger, eventually overflowing the container. ERUPTION! The bubbles in soft drinks are also carbon dioxide gas, but they come from something else. They do behave similarly if you shake up your bottle.

OK, that’s the background. Now the experiments. First, demonstrate the process by spooning some baking soda into a bottle or other container and then adding vinegar. We like to do it over a cookie sheet to contain the mess. Ask your kids to think about what they can change, and then try it out. If they get stuck, here are some suggestions. Be sure to have the kids predict what will happen before you try it. Then afterwards, they can come up with explanations about what they saw.

  • Different shaped containers: bottles (wide at the bottom, narrow at the top), bowls (the opposite), wide or narrow glasses, etc.
  • Different acids: Remember the lemon juice comment? Try lemon juice. Try coffee. Try whatever you have, but don’t waste the good balsamic. Save that for salads. Try buttermilk or kefir.
  • Different base: Baking powder looks and sounds kind of like baking soda. Does it work? What about baking soda toothpaste or kitty litter? What about a fresh box of baking soda vs. an open box that has been sitting in the fridge for months?
  • Different amounts of baking soda and/or vinegar.
soda bread on cooling rack
Mmmmm, homemade soda bread

When you’re done playing around and have washed up, serve up a snack of soda bread. Soda bread is made with baking soda and buttermilk, which is acidic. When the bread is baking, the volcano reaction is going on inside, producing carbon dioxide bubbles inside. That’s what makes the bread fluffy rather than a solid brick. Stay tuned for a soda bread project post.


Magnify, Now Enhance!

Here’s a little animation my daughter and I made to describe magnifying glasses.

Now here’s an easy experiment you can do with your kids. Hold something about a foot from your eyes. You should be able to easily focus on it. Now bring it slowly closer. At some point, you won’t be able to focus. Light bouncing off the object goes through the lens in your eye and gets projected on the retina (the back of the eye where all the detectors are located). The lens is designed to bring light from far away in focus right on the retina. As you bring something closer to your face, muscles in your eye stretch the lens to keep the object in focus.

diagram of eye
The lens focuses far away objects on your retina.

Depending on your age and how near or far sighted you are, the distance where you can still focus will change. As you age, you lens in your eye becomes less able to change focus easily. If you are near sighted, your eye is stretched out and the lens can’t keep far away things in focus. Normally you wear extra lenses (eyeglasses or contacts) to compensate. If you take off your glasses, you can get something very close to your face and still focus. The opposite is true for far sighted people. They have to hold things farther away to see them in focus.

diagram of eye
When you bring an object close to your eye, the lens can no longer focus its image on your retina and it appears blurry.

If you want to see an object close, you either need to be nearsighted and take off your glasses, or else you need an extra lens between you an the object. A magnifying glass held at just the right spot, can change where the light focuses, allowing you to see close objects clearly.

diagram of an eye
Inserting a magnifying glass between the close object and the eye focuses the object on the retina again letting you see the magnified image clearly.

Paper Airplane Your Way To Being A Scientist

A paper airplane resting in flowersOne of the primary ways to turn your kids onto science is to train them to think like a scientist. You want them to try something, then make a little change and then try it again and notice the difference. By the way, the same is true for engineering.

Take paper airplanes for example. You make one, throw it, and see how it flies. Does it go flat and level? Does it turn? Does it rise, then stall, and then nose dive? Now refold it with different sized wings or bend the wingtips up or down. How does it fly now?

Be sure to only change one thing at a time, that way you can build up and understanding about cause and effect. Adding weight to the nose does this. Throwing it hard does that.

Here’s a short video showing a paper airplane design that isn’t too hard to fold, but which flies really well. I also show some of the things you and your kid can change during your tests.

Enjoy!

Growing 101: Carrot Tops

1-IMG_2173

Abstract

Watching a plant grow is like magic for kids, but it can take a long time, and they can lose interest. The solution is to start down the path to a green thumb with a plant that is easy and quick to grow. It doesn’t get much easier than carrot tops.

  • Minimum Age: 3 with supervision (cutting and pouring)
  • Equipment Level: Stuff around the house

Introduction

Most plants grow too slowly for kids to notice. You can plant seeds and then be surprised when they finally poke through the soil, but in our house, the kids usually have forgotten about the project by that time. Carrot tops, however, are a growing project that provide daily entertainment. It may take them a day or two before they start, but once the first leaves appear, you can see and measure the progress each day. Carrot tops are especially interesting since you can get bushy greens with only water and light, though if you try growing one in the dark, you may be in for a surprise.

Materials

  1. A few carrots with at least a centimeter of greenery remaining at the end.
  2. Sharp knife.
  3. Cutting board.
  4. Flat bottomed container, either shallow or glass so light can get through (we used plastic party cups).

1-IMG_2155

Instructions

  1. Cut the ends off of several carrots. Be sure to leave a centimeter or so of the edible part.
    1-IMG_2156

  2. Place the carrot ends in the container with the flat side down and the greens sticking up.
  3. Pour in enough water to almost cover the carrot ends.
  4. Place the container where it will get sunlight (or at least plenty of artificial light).
  5. Observe the carrots each day and watch how fast the greens grow.
    1-IMG_2166

  6. Eventually, you’ll see tiny roots growing out of the orange part. When they get about two centimeters long, you can transplant your carrot tops into soil to help them grow even bigger.

Results

Here’s what happened:

  • The edible (orange) part of the carrot contained a lot of energy stored in the form of sugar. It also had the other building blocks needed to grow the greenery.
  • When you added water and sunlight, the carrots had everything they needed to regrow their greens.
  • Once the carrot tops had roots and leaves, they were ready to get their nutrients from soil.

1-IMG_2165
Why do you suppose this one turned out orange?

Discussion

Not too shabby. With a little bit of work, you have begun your journey to getting a green thumb. There are many ways to grow a new plant, and what you just did is similar to a technique called “rooting”. You take a cutting of a live plant and help it grow a new set of roots. A skilled gardener can take a cutting from a live plant and root the cutting. That gives the gardener a new plant. That way they can expand their garden from their single starting plant. Scientists call it “propogation” when you increase the number of an organism that way.

You may be wondering why the greens grew but the tasty orange part of the carrot did not. The part of a carrot we usually eat is called a “taproot”, and once it has been cut off, it can’t regrow. Unlike fruit trees, which produce fruit that can be picked and eaten each year, you destroy the carrot when you eat it. If you want more carrots, you’ll have to grow them from seeds.

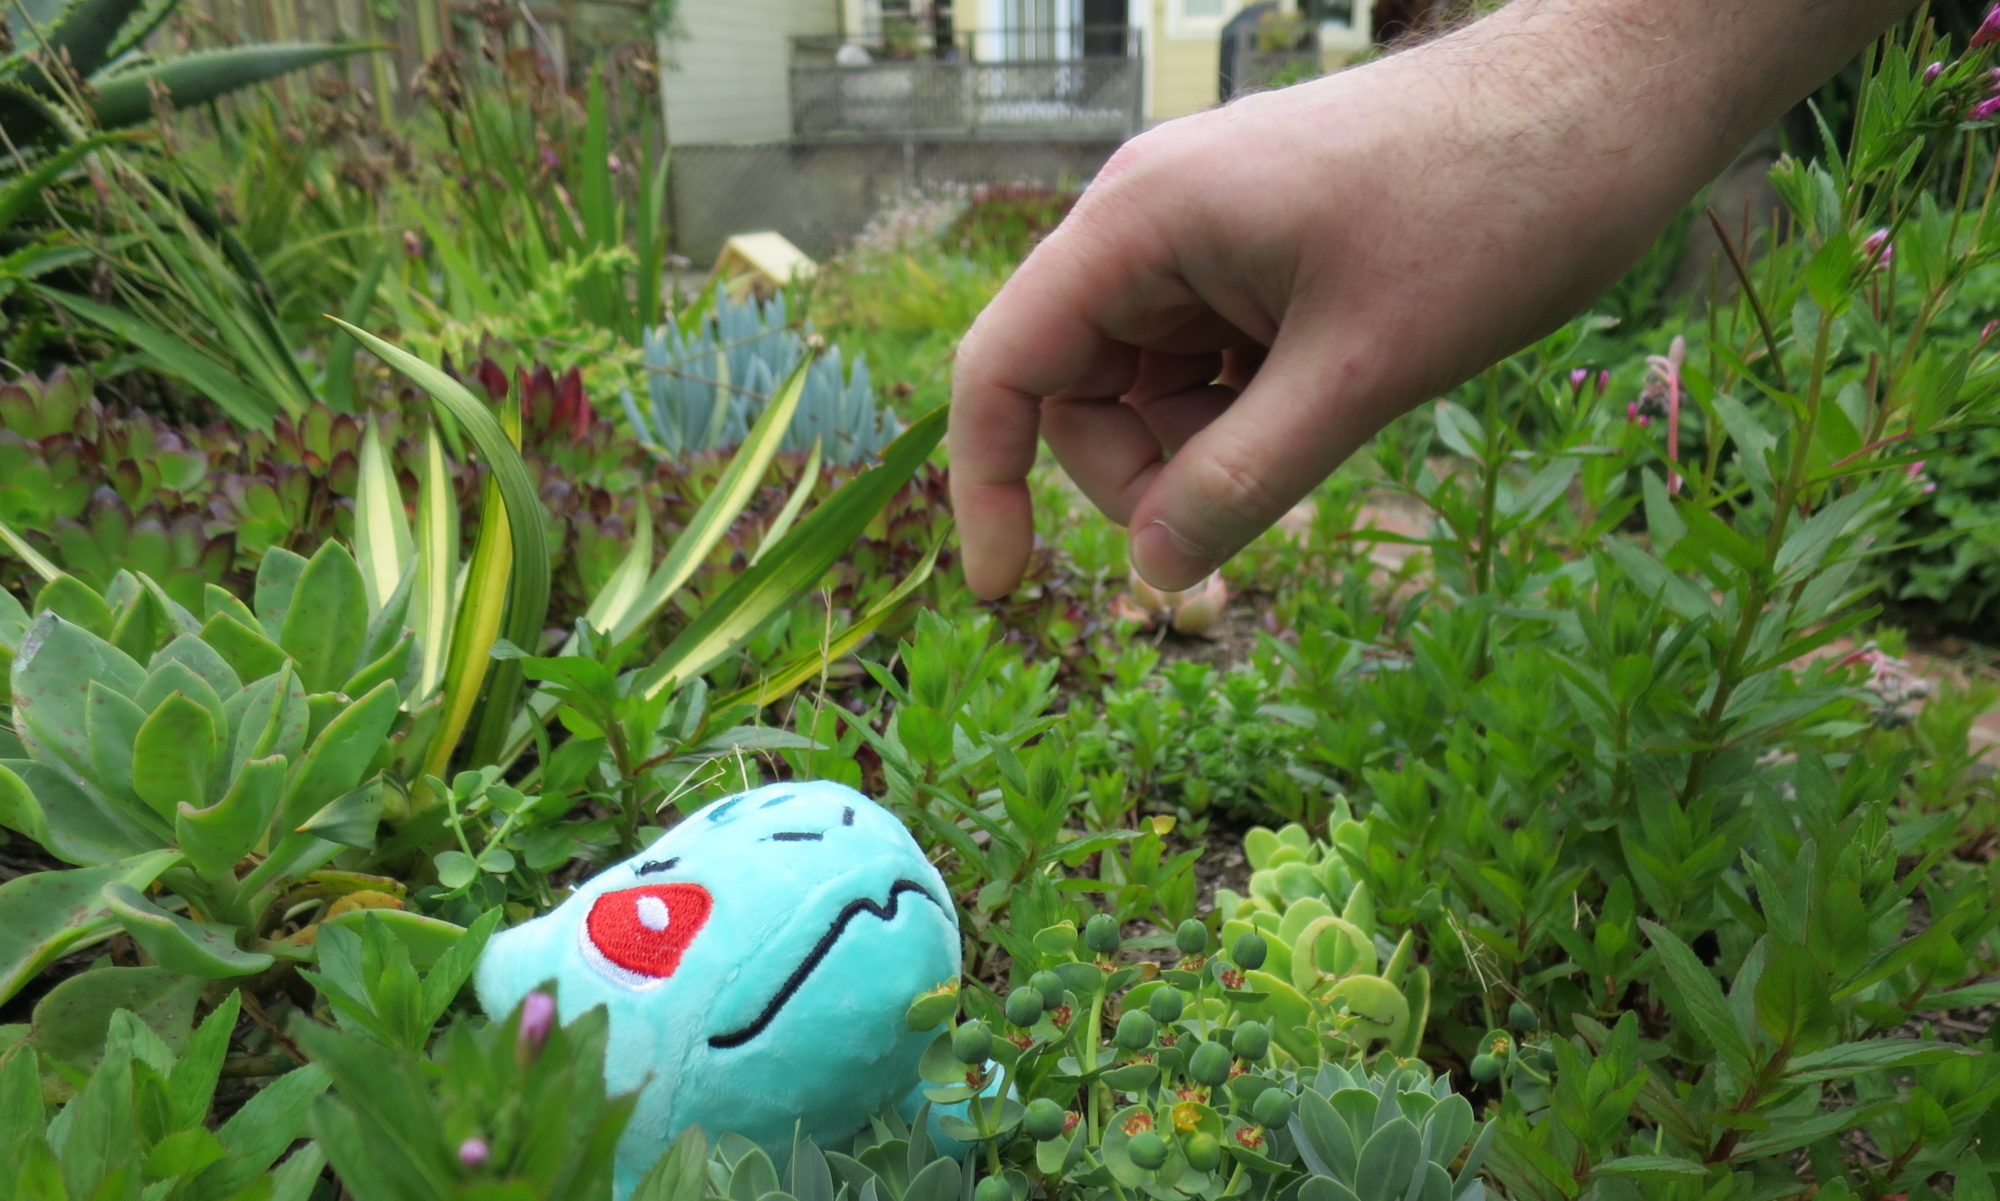
Now that you have a tiny forest of carrot greens, what will you do with them? I recommend getting some toys and learning about macro photography.

Going Deeper/What If

When you root a cutting, you’ll need some starting material. Even seeds are packed with endosperm which provides nutrients and energy to help the plant grow. Once a young plant has roots, it can gather its own nutrients, but until then, it needs a food source. That’s why you have to leave some of the orange taproot on your cutting. Without that, you probably won’t get much growth.

What about the greens? What if you cut them all off? Would anything grow? Give it a shot.

And what about sunlight? Seeds grow underground. Can the carrot top use the stored energy in the taproot to grow in the dark, or does it really need the extra light? That is another good experiment for you to try. (Spoiler: the one we grew in the dark grew orange leaves. When we left it in the sun, it turned green after a few days. When it was in the dark it didn’t make chlorophyll, which causes the green color, but it started making it once we put it in the light.)

What if the water contains something else? Will they grow in soda? Juice? Vinegar? Try them out. We tried the setup above and 4 variations.

1-IMG_2157


Q: What’s another plant that is easy to root.

A: Spider plants. When they are happy, they put out little “babies”. You can pinch off a baby and put it in the top of a full bottle of water. Soon you’ll get roots growing down into the bottle. Plant it once you have good roots (5 – 10 centimeters long) and before long your whole house will be covered in spider plants. Unless you have cats, who love to eat spider plants.


Q: Can I leave them in water or do I have to plant the cuttings in soil?

A: Eventually the the taproot will run out of nutrients and the greens will stop growing. By planting them in soil, you are giving them access to the nutrients they need to keep growing. But what if you put nutrients in the water instead of putting the plants in soil? The answer is that they will grow. Such a growing system is called hydroponics, and it is the sort of system scientists are exploring for growing plants in space. Astronauts need fresh veggies too!


Q: Aside from taking fun photos, what else can I do with all these bushy carrot tops?

A: Have you ever thought of keeping a pill bug as a pet? Check out our pill bug project (coming soon). Carrot tops were our pill bugs’ favorite food.

Conclusion

Agriculture is hugely important. We all (should) eat lots of fruits and veggies. And if you eat meat, don’t forget that the animal your meat came from probably ate veggies. More importantly, plants breathe in carbon dioxide (CO₂) and breathe out Oxygen (O₂), so they help keep the atmosphere in balance and give us the oxygen that we need to survive. So remember: grow more plants!